
This project was born as a Coronavirus project for my kids (you know how difficult could be to have your kids all day at home… oh school: please come back, we forgive you!)
On this post we cover the initial steps, including the full platform/chassis running, commanded by a Raspberry Pi and some Java code.
On this video we can see the chassis running:
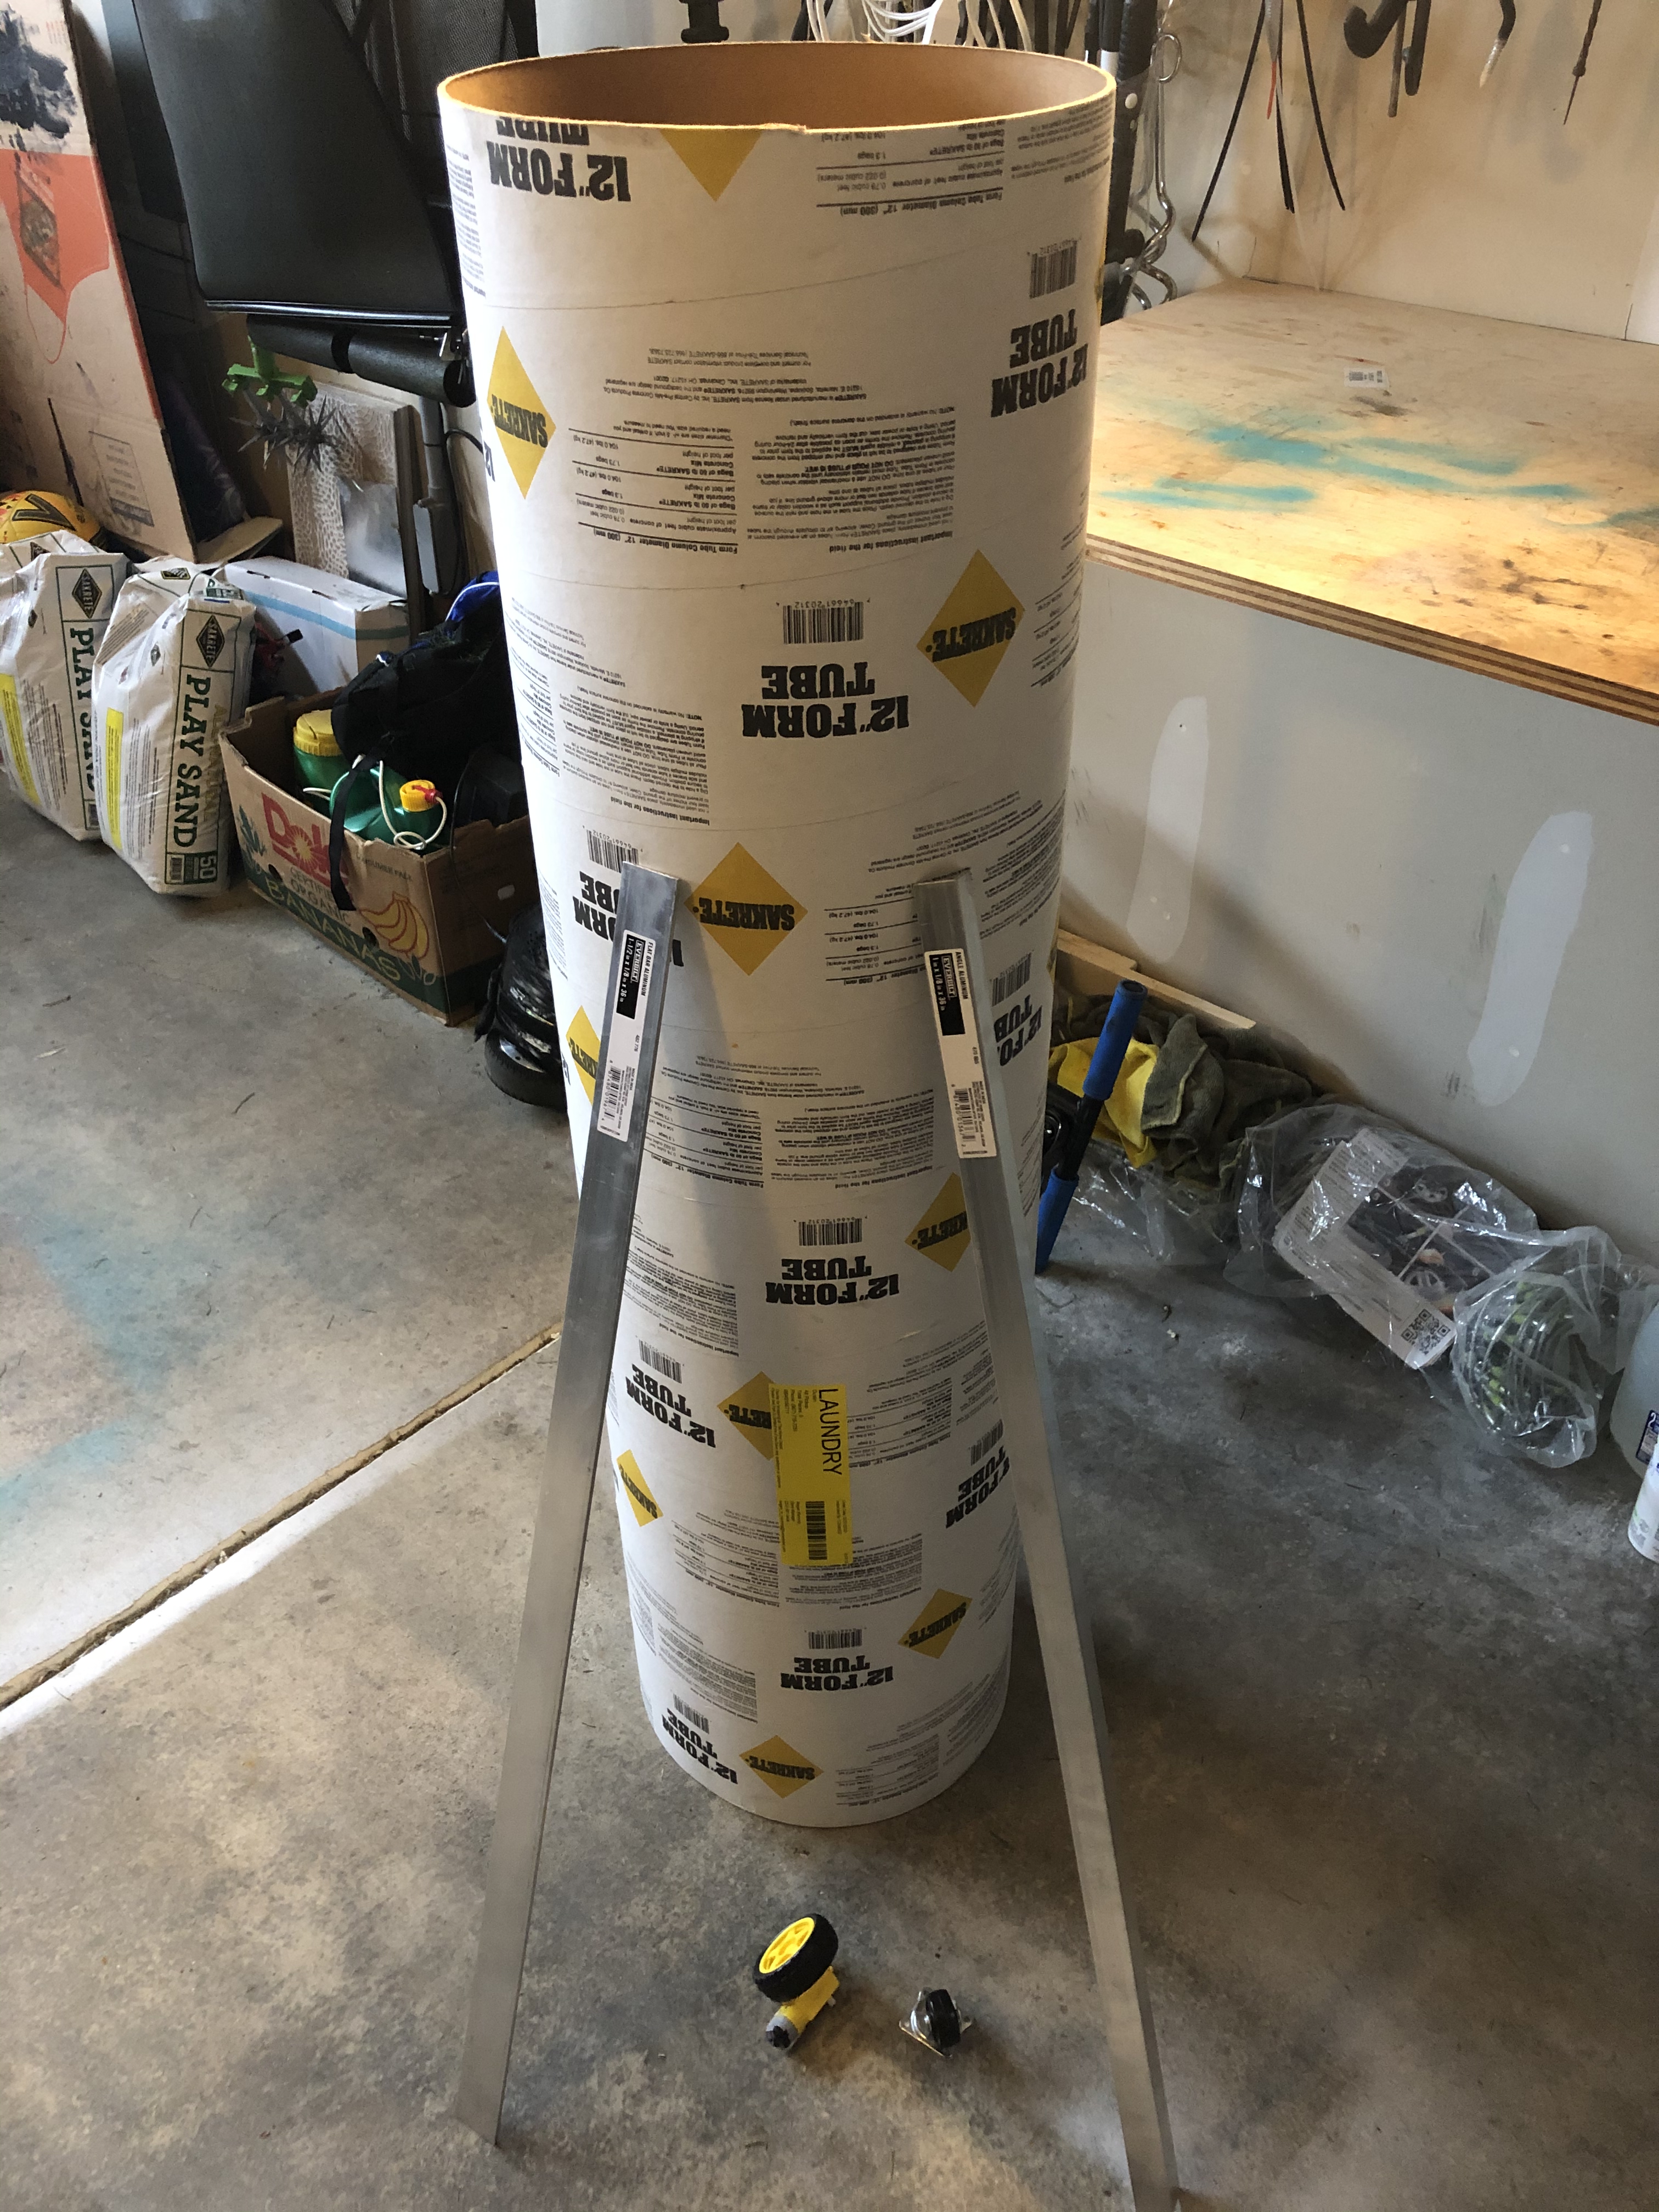
The body of the R2D2 will be a 12″ cardboard tube from Home Depot. The chassis aluminum flat bars are also from HD:
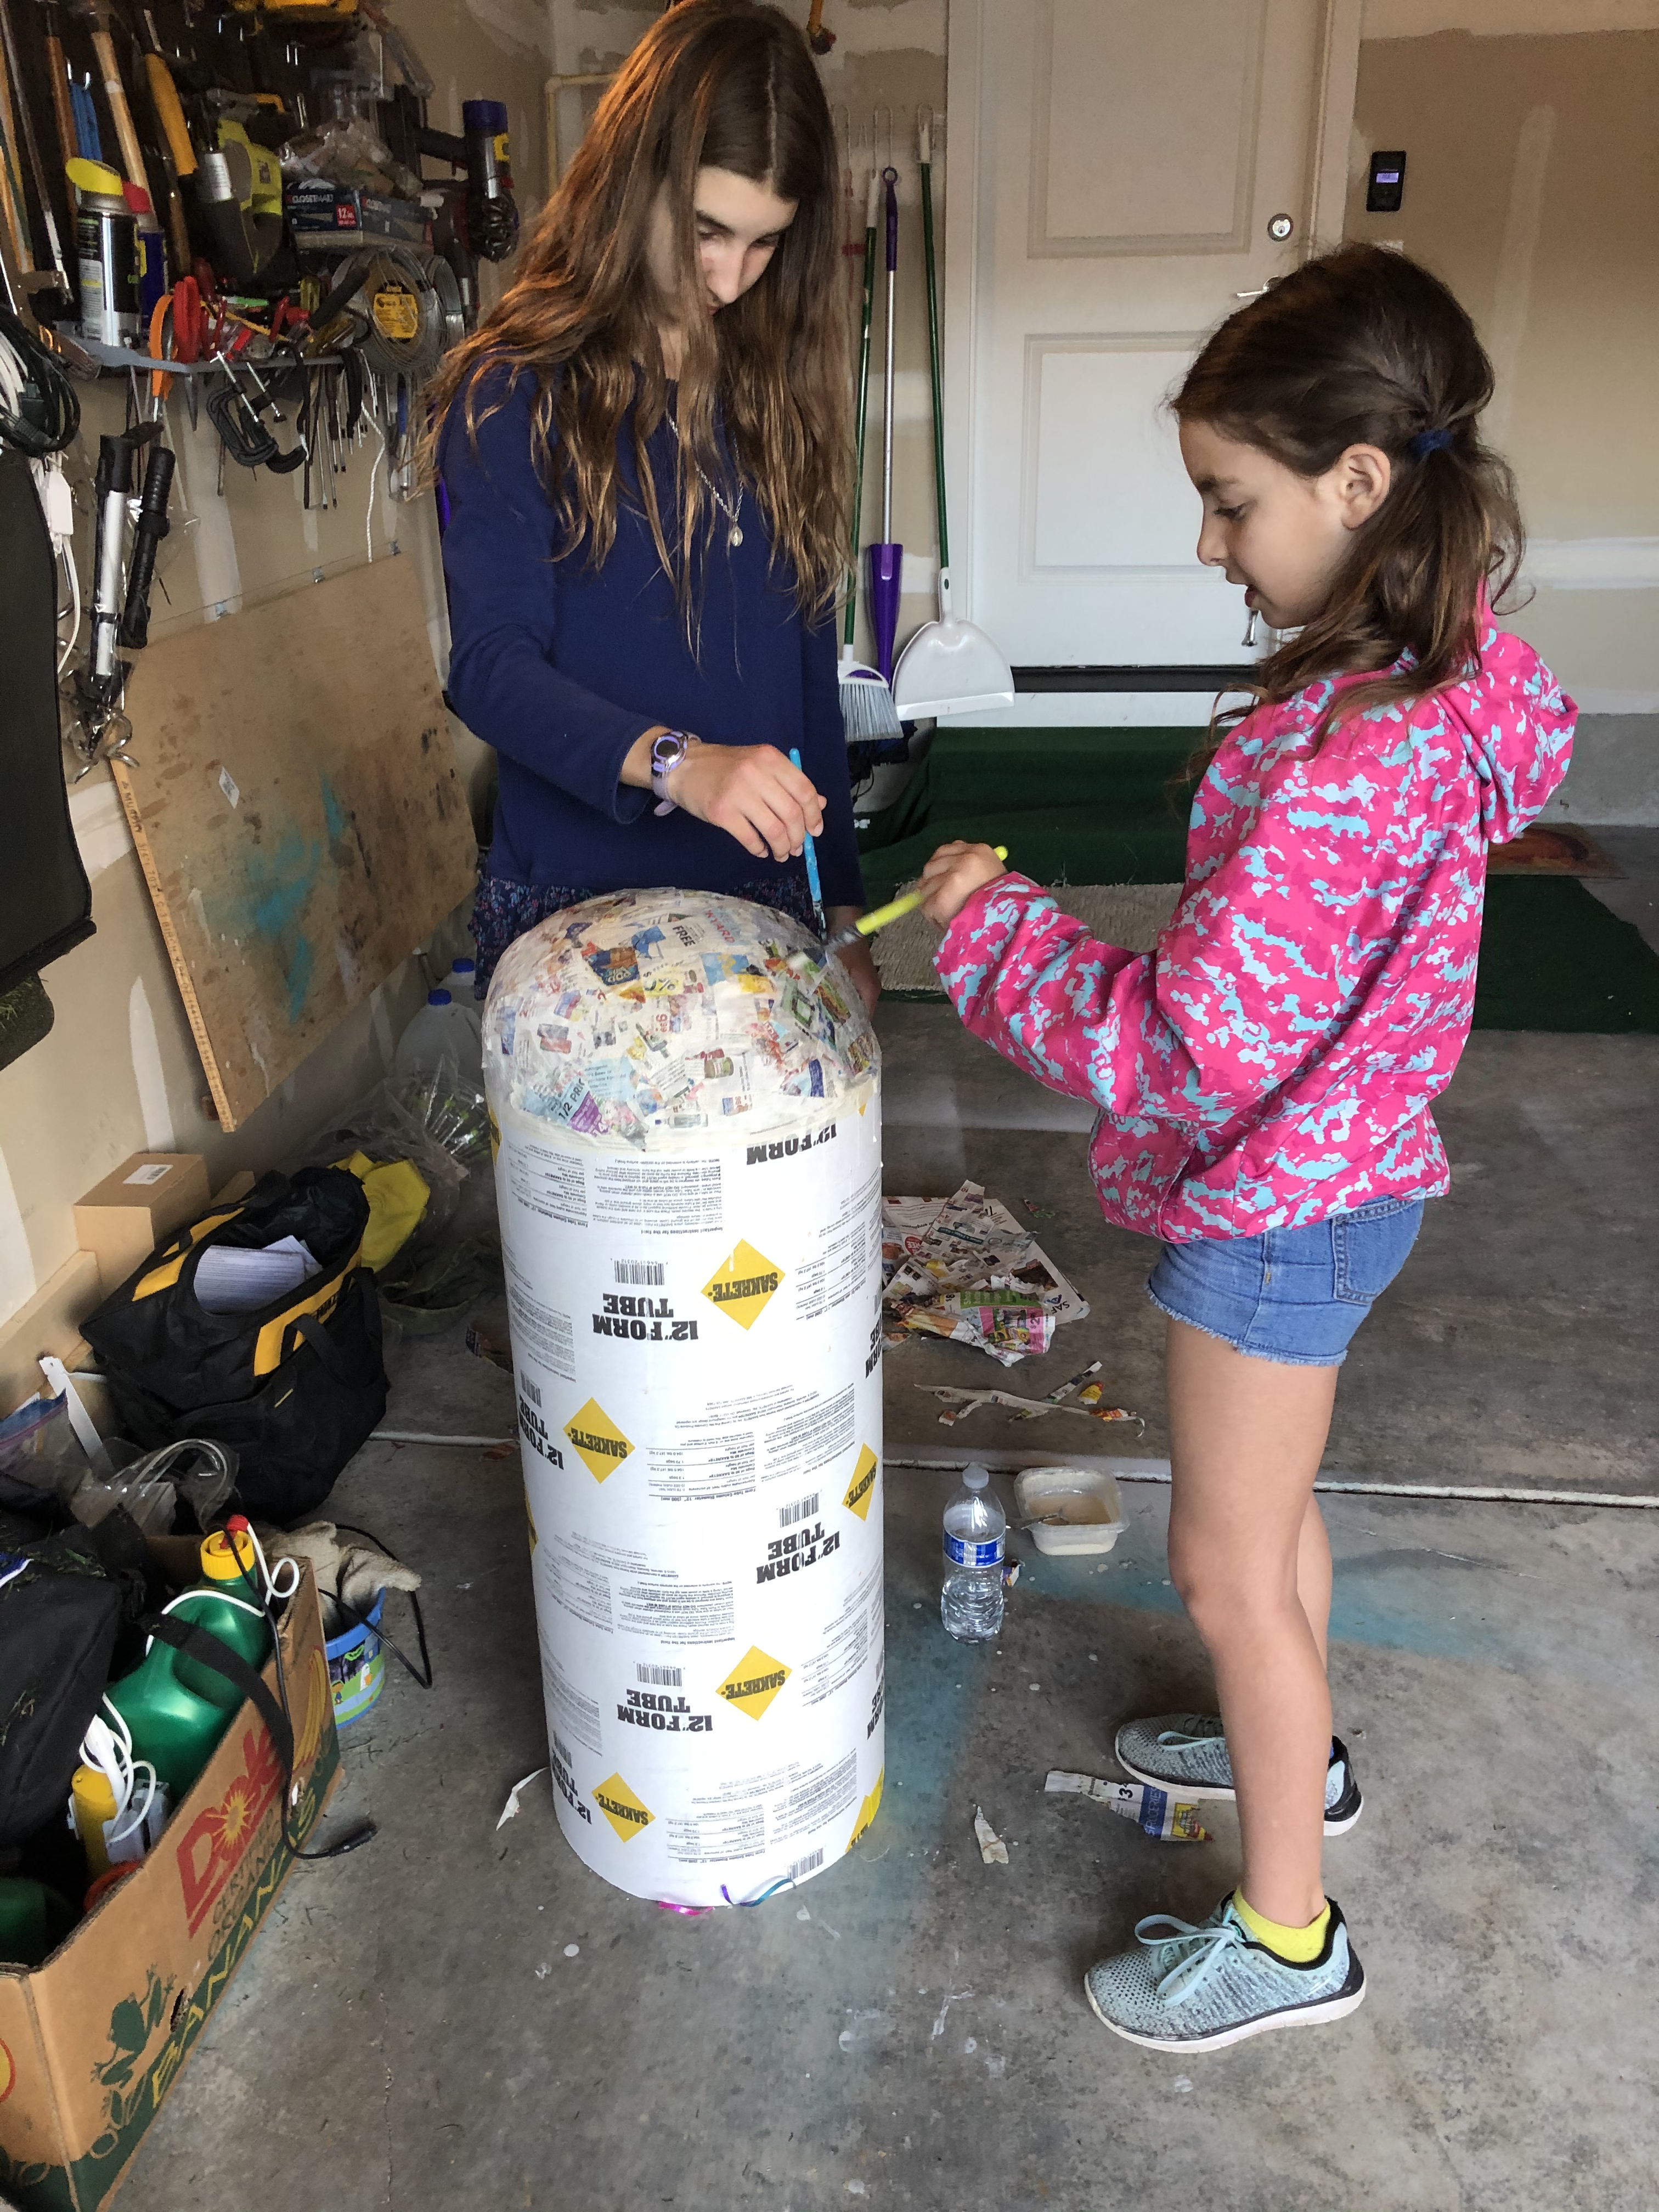
R2D2 head will be molded from a balloon, newspaper paper and paste (flour + water):

Chassis design:

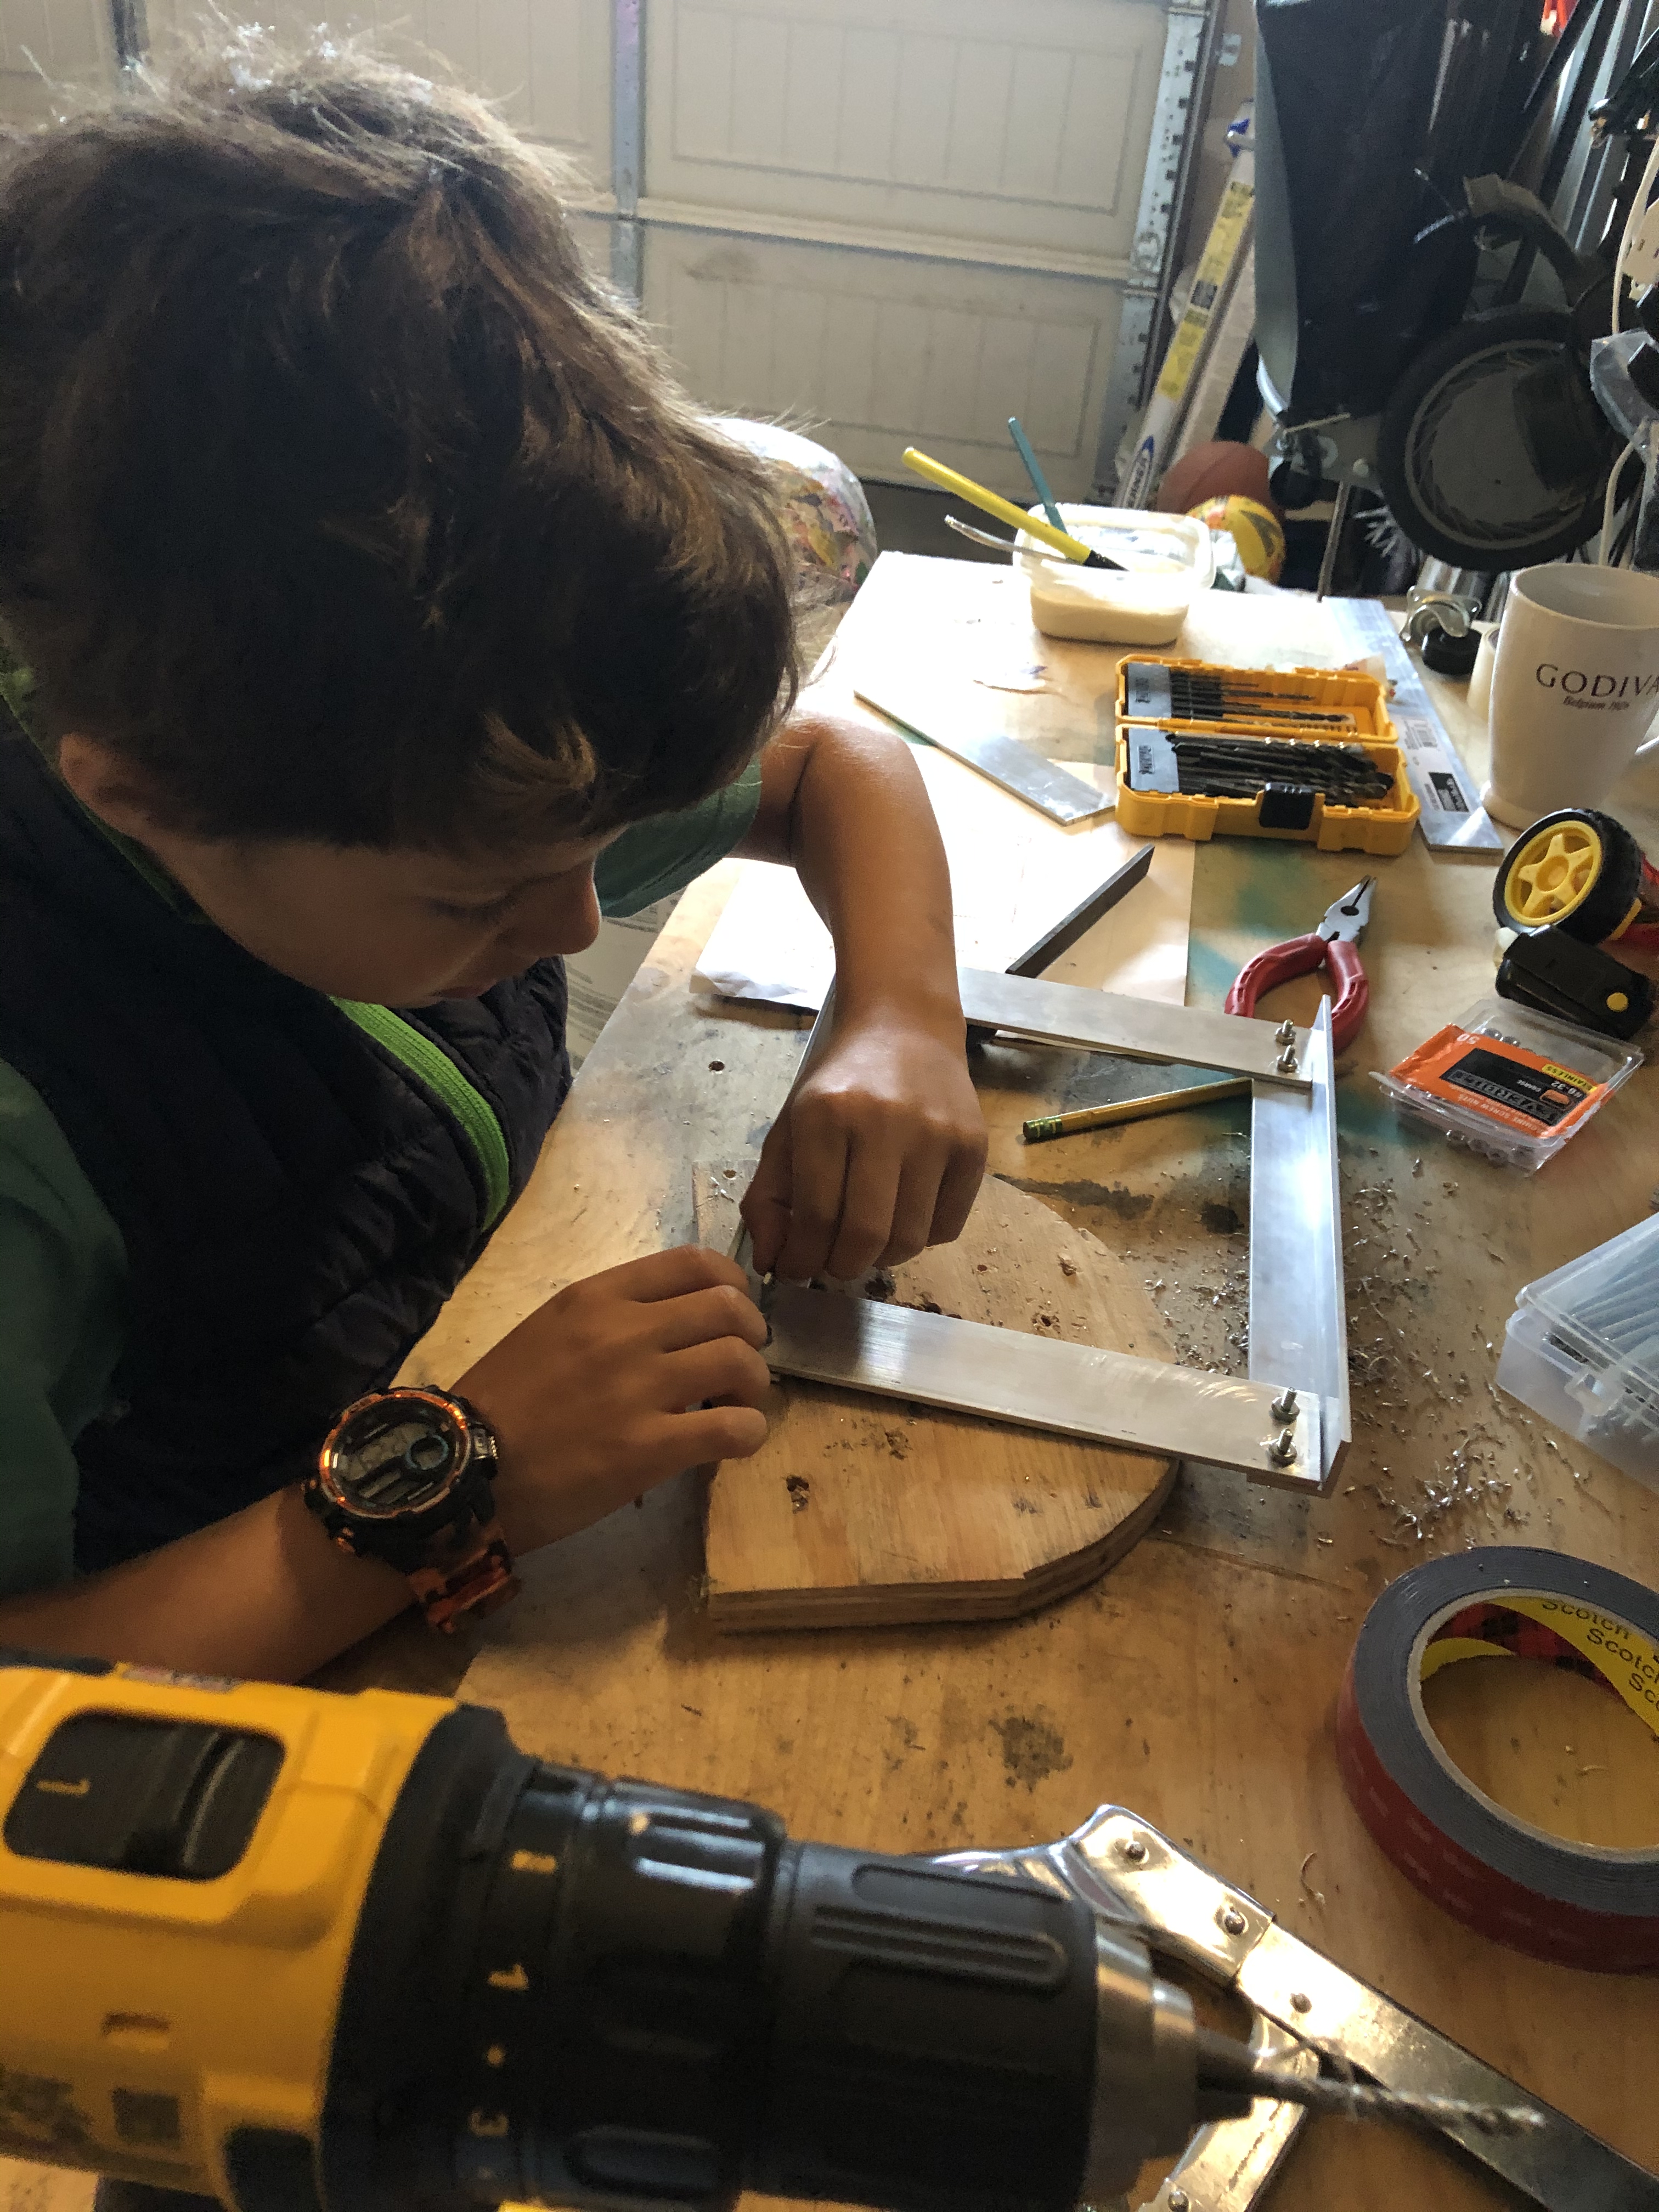
Cutting, drilling and assembling:


This is how the chassis will fit into the tube:

Soldering:

Wheels in place:

Preliminary setup and code testing:


Final assembly of the chassis:

We are using two separate battery packs: one for the raspberry and a second one (more amps and 12V) for the motors and the L298n motor driver: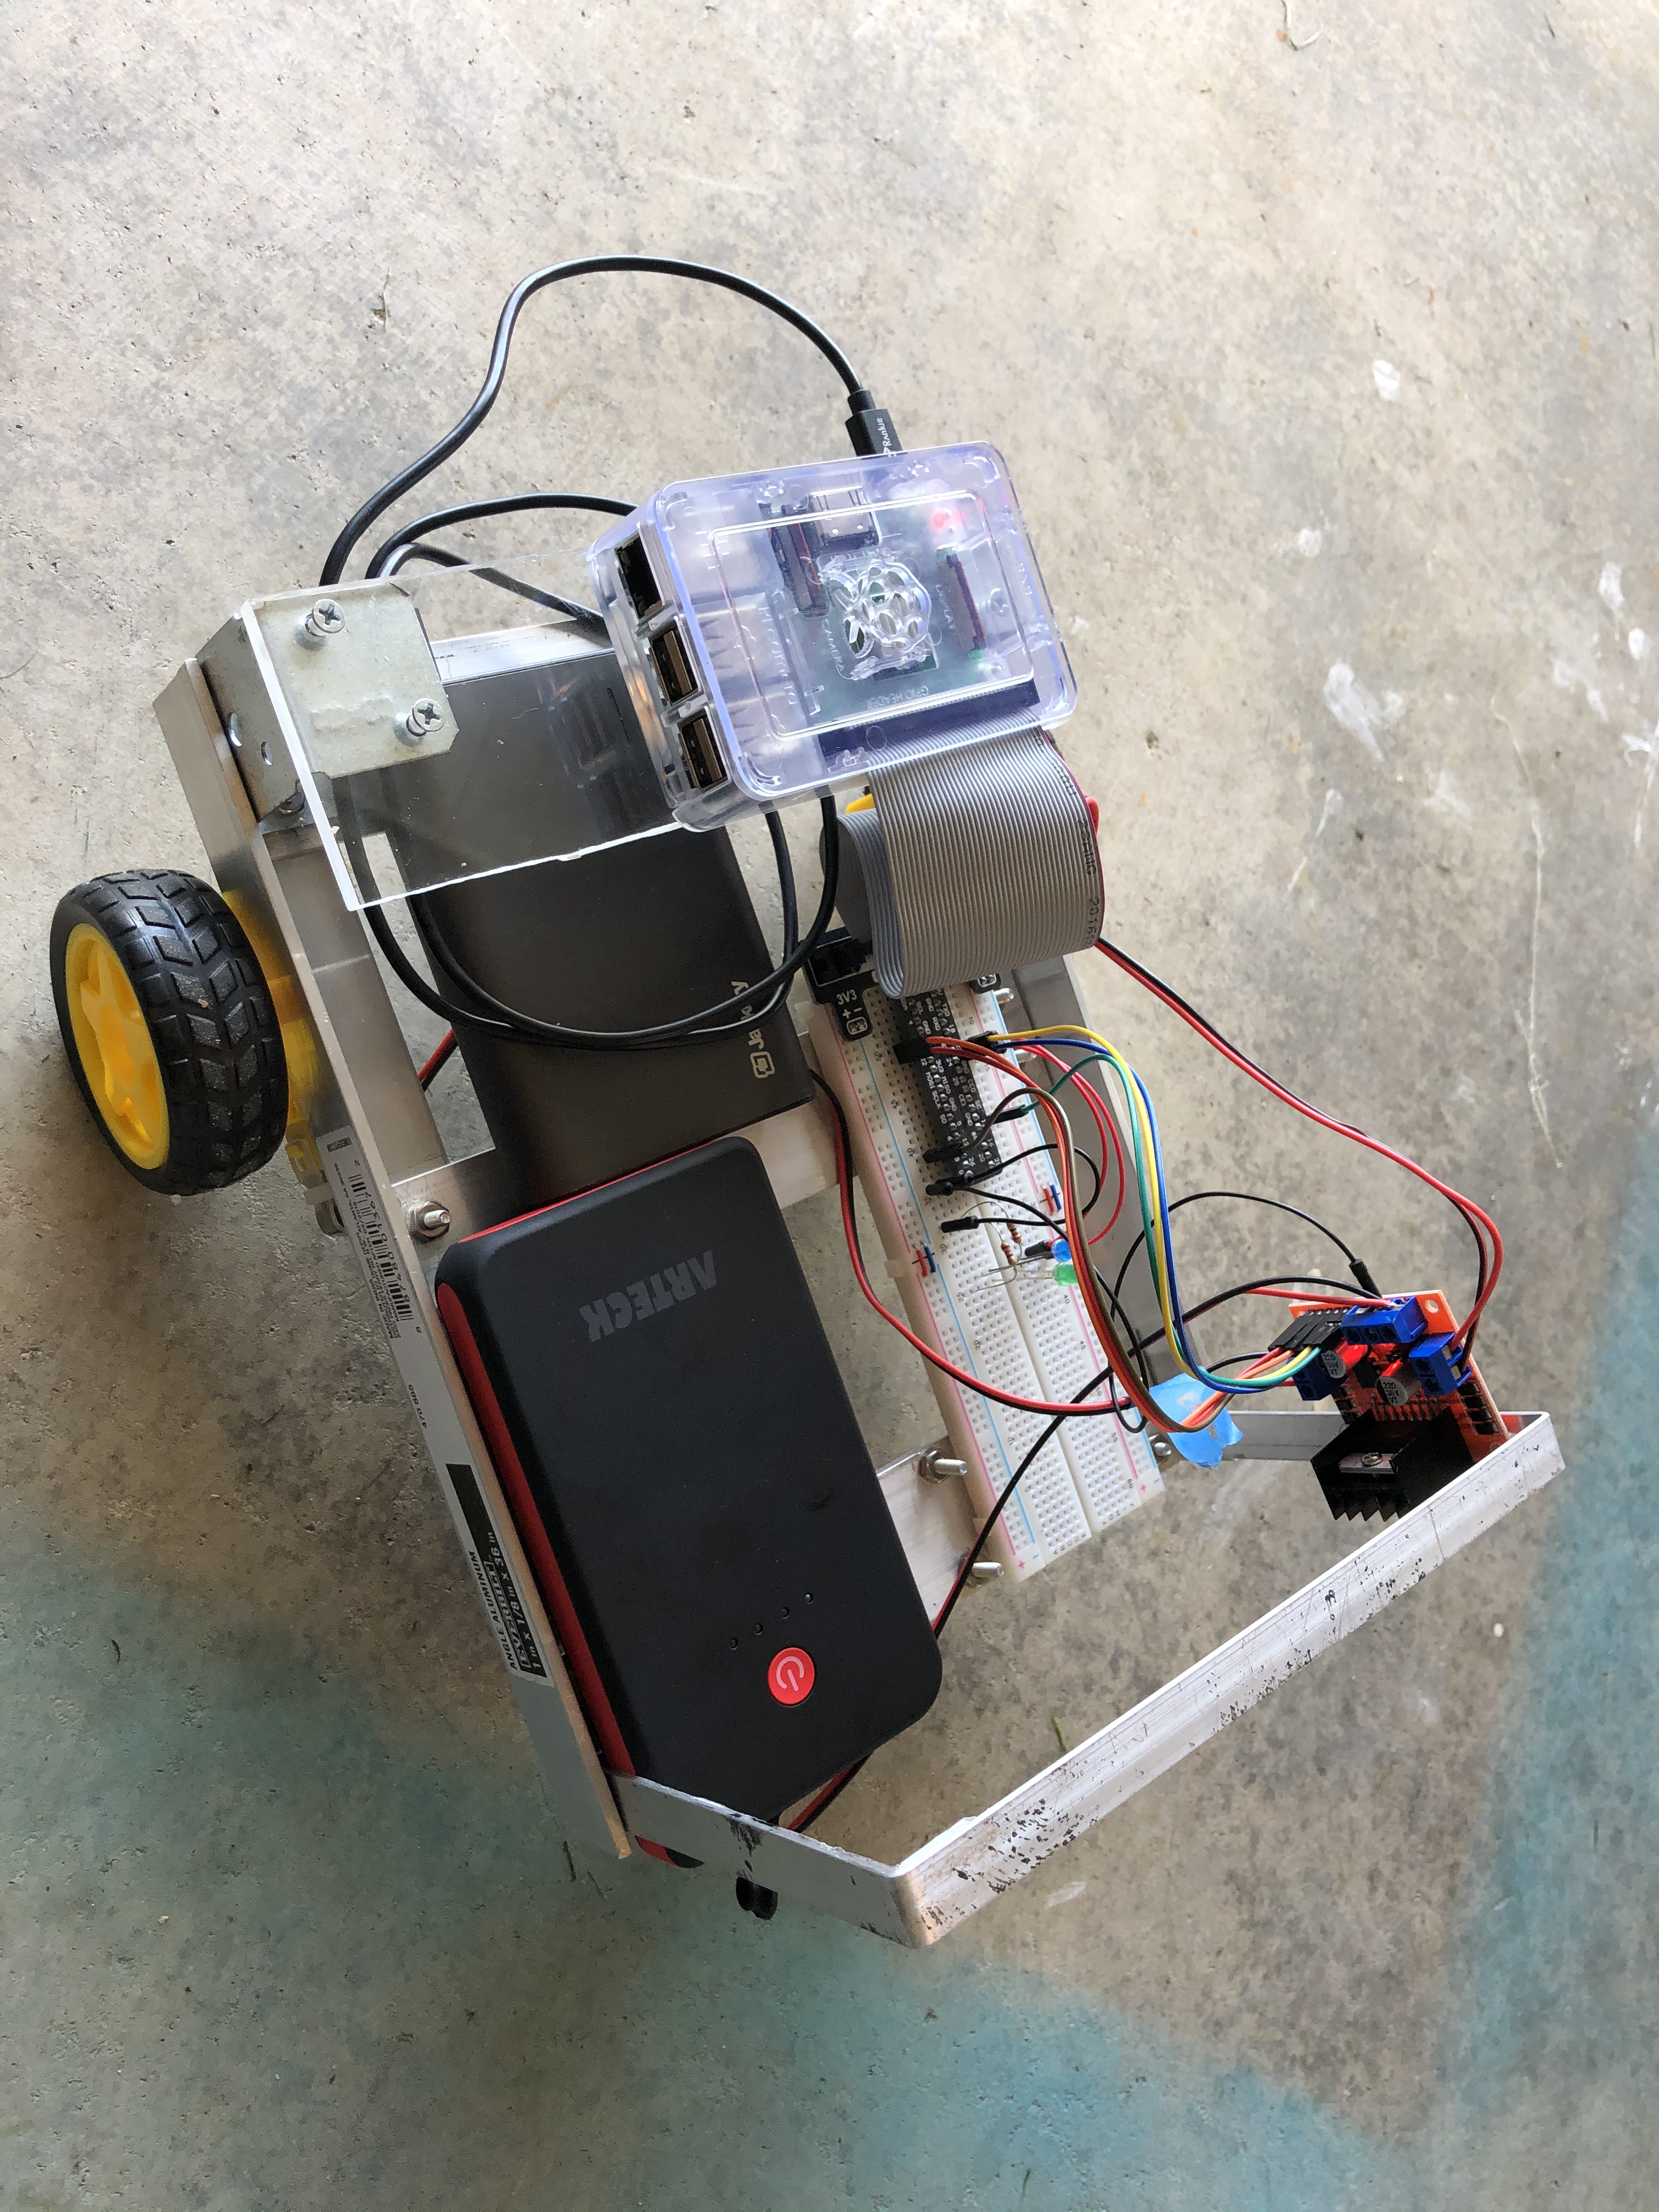
To be continued…..
Part 2 is available here: https://vivani.net/2023/03/06/raspberry-pi-java-r2d2-robot-part-2/
